Animation and Piskel
|
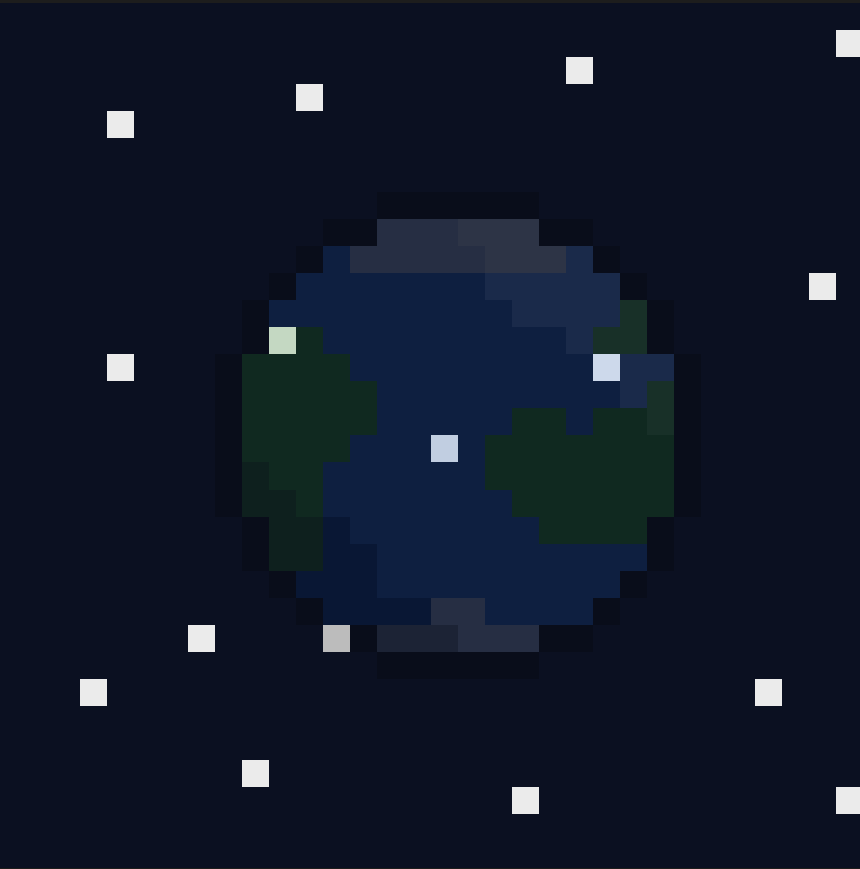
Our first Tutorial will show us how to make the rotating planet gif that you see on the right.
Follow this, but feel free to add your own take in order to change it. |

|
Level 5 Animate The planet
1. Start a new drawing and keep don't change the size.
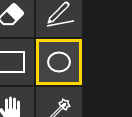
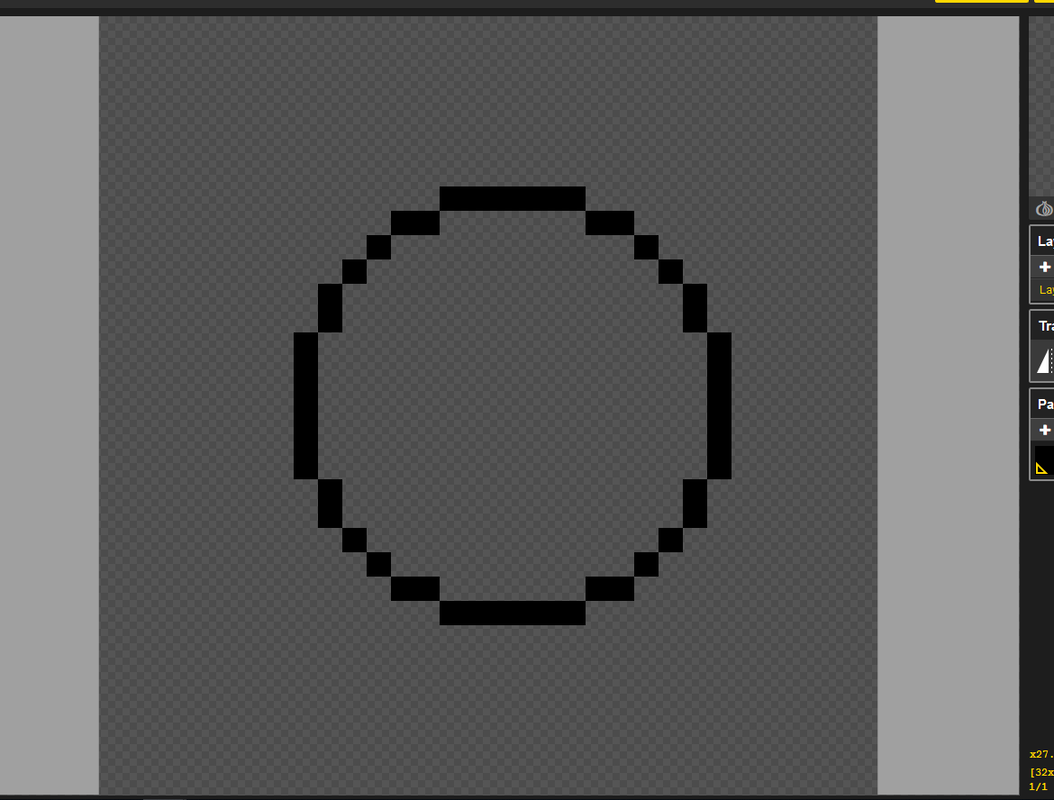
2. Click the circle drawing tool on the right. 3. Draw your circle (Hint: You want the outline colour to be black). 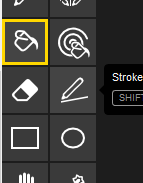
4. Select the paint bucket tool
5. Then select a colour that you want (For mine I will choose an ocean blue) 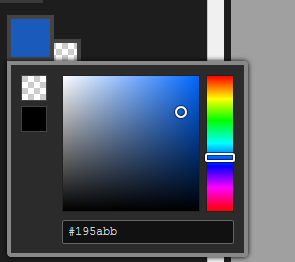
Other Examples
|

6.) Click inside the circle. This should colour it how you want.
7.) Add the detail, I am going to use a blue white for ice and a green for land. 
|
Shading
|
In order to add some shading follow the next steps.
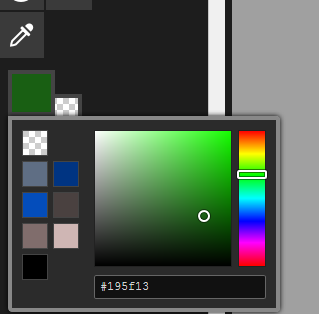
1.) Select a colour that you are using in your planet 2.) Move it to a shade darker 3.) Color in one corner darker 4.) Repeat steps 1 to 3 for the opposite corner with a lighter shade. 
|
|
Spinning your planet
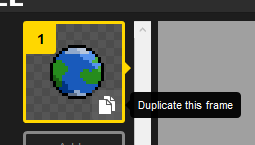
1. Highlight the frame and click the "duplicate this frame" button
2. Draw the next frame with every pixel moved to the left by two pixels. Watch the right hand side animation it should now be animating slightly. It should look like this --------------------------------------> 3. Repeat steps 1 and 2 until your planet has a full rotation, if you are wanting to do it quicker make the planet skip 4 pixels. You will have to have patience to do this and take some time to ensure land features look good. |


|
Animating space
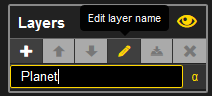
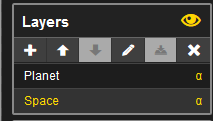
Layers allow us to edit background and foreground objects without impacting each other. The planet layer is different from the space layer. 1.) Find the layers tab and click the Pen Button. 2.) Rename Layer 1 to Planet (This makes it easier to edit) 3.) Hit the plus button to add a new layer. Call it Space. 4.) Hit the up arrow so that The Planet is on the top and Space is on the bottom 5.)Go to your first frame and grab the paint bucket and make space a very dark blue. 6.) Paint individual white spots for the stars, Paint on top of the planet 7.) If you want to edit the planet layer click planet from the layers menu |
|
Final Step Animating Space
We now want to animate the space behind the planet, to do this we will be copying it so that it moves to the left.
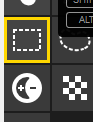
1.) Select the "rectangle select" tool. 
2.) Select the entire space layer
3.) Hit Ctrl + C (Control + C for Mac), This copies it 4.) Go to the next Frame, and hit Ctrl + V (Control + V for Mac), This pastes it. 5.) Select the hand tool, drag the background to the left by about 3 pixels. 6.) Fill in the space with new space and stars 7.) Repeat Steps 1-6 for every frame. Well done you should have an animated planet Level 5 - Animate the planet (100 pts) Level 5+ - Include shading, ensure high quality (200pts) Bonus Round - Add a comet, ship or something new (200 pts) |


|
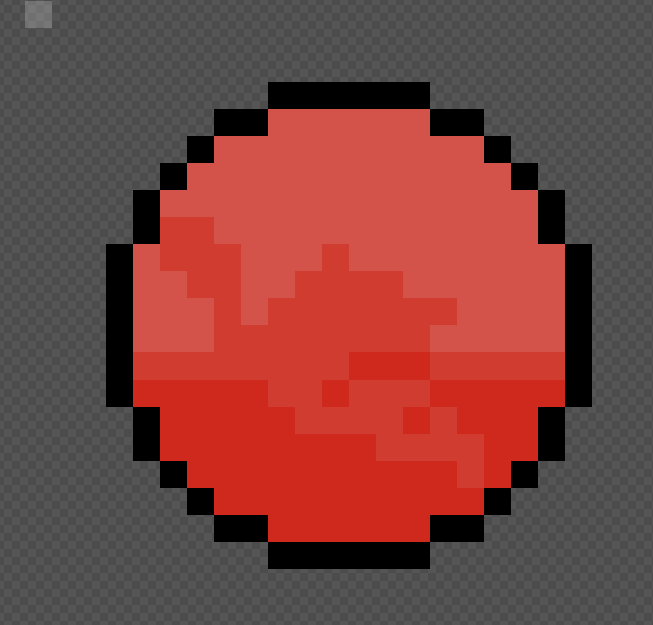
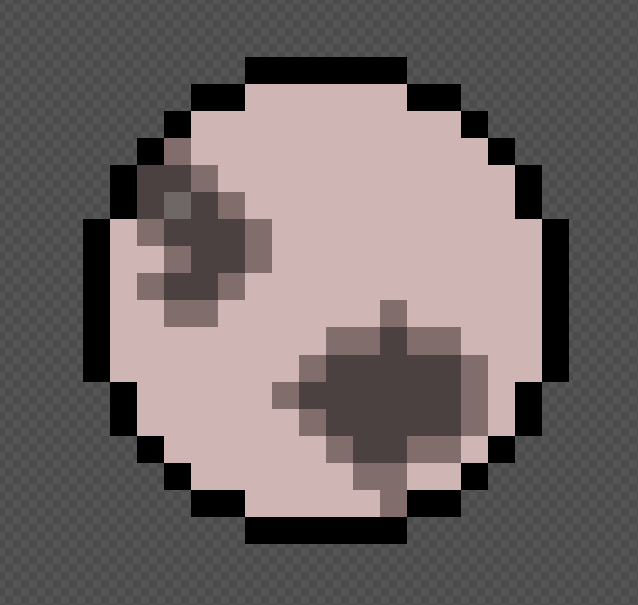
Animating a bottle
Level 6 - Animate the potion (100 pts)
Level 6+ - Ensure High Quality (200 pts)
Level 6+ - Ensure High Quality (200 pts)
|
|
|
|
|
|
