3D Modelling
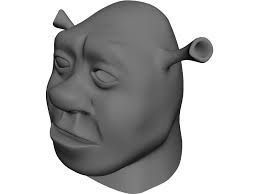
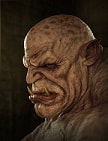
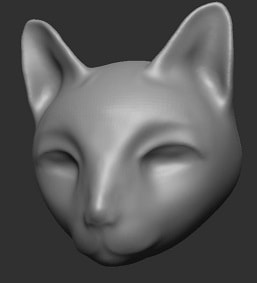
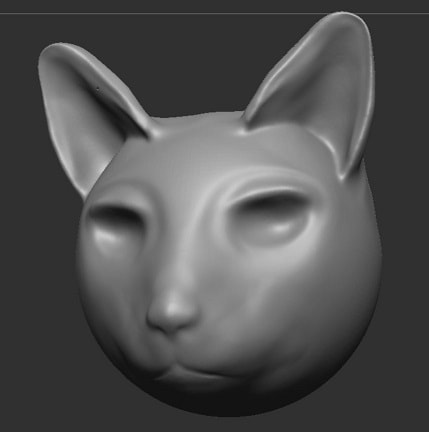
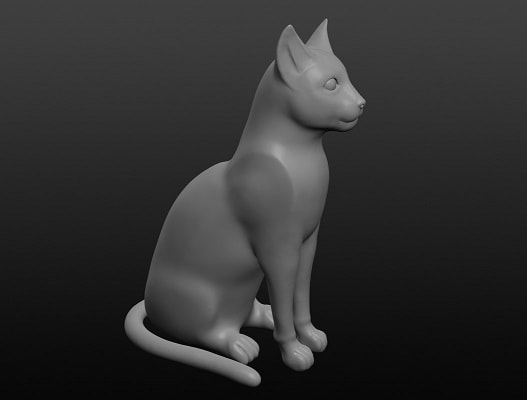
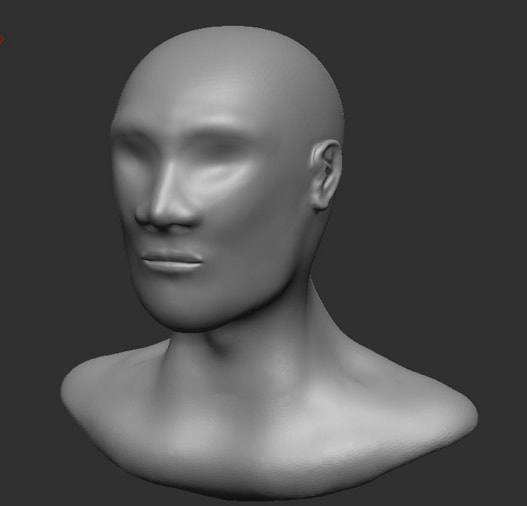
ZBrushCoreMini is a free version of professional 3D Modelling software. 3D Modelling is used to create character models for films, video games, and board games. Learning to use 3D Modelling tools is an important first step if you are interested in pursuing a career in one of these areas.
Using ZBrushCoreMini
|
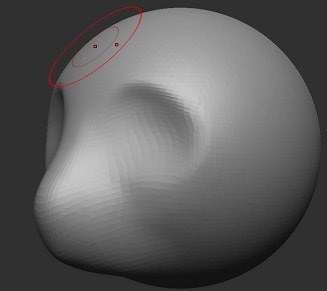
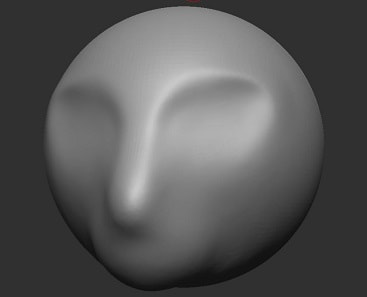
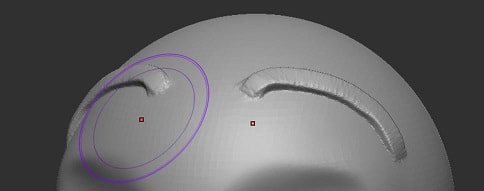
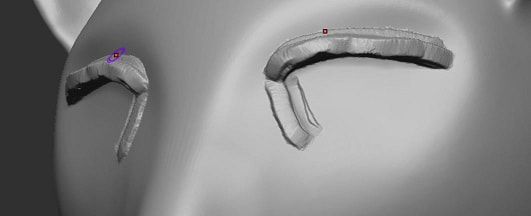
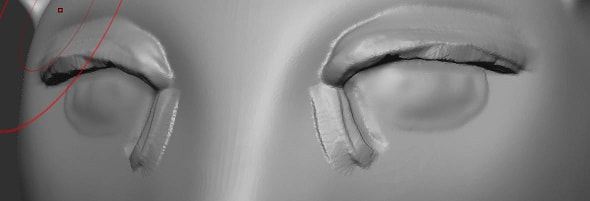
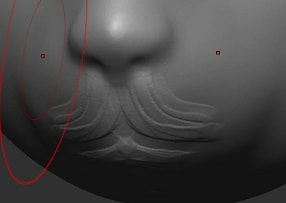
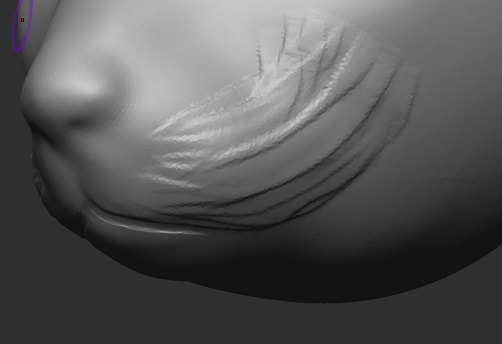
Even though there are a range of tools available, the tools that you are likely to use the most are the "Move" tool and the "Clay Build" tool.
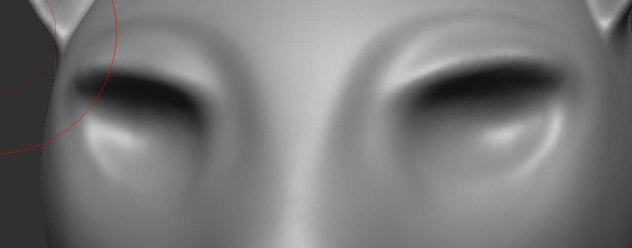
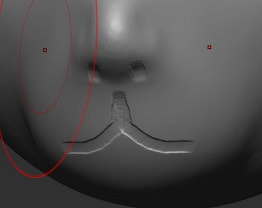
When using the tools we need to consider the Draw Size of our drawing tool as well as the Z Intensity. The Draw Size determines the size of our brush, the Z Intensity determines how much of an effect we want to have when we use it. Main helpful tools:
|
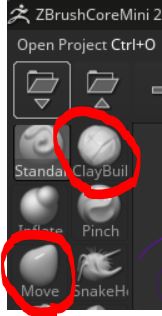
Move and Clay Build tools

Draw Size and Z Intensity settings
|
Activity - 15 minutes: load up ZBrushCoreMini and play around with all of the tools. Change the Draw Size and the Z Intensity to see what happens.
ALSO see what happens when you hold and the Alt key when clicking and dragging with the mouse.
ALSO see what happens when you hold and the Alt key when clicking and dragging with the mouse.