Adobe After Effects Basics
|
Why After Effects?
Adobe After Effects is also a video editing program used to manipulate and edit videos. Adobe After Effects is a specialized piece of software that focuses on adding special effects to individual scenes. Take a skim look at this video |
|
First Task - Green Screening.
|
For this task we are going to add a funny background to the back of hisvideo to further embarrass him.
In the future you will be filming your own clip for green screening. Tasks. 1.) Download the clip on your right of Mr Sutherland in front of a green screen or 1.) Create your own video standing in front of a green screen. 2.) Open up Adobe After Effects 3.) Drag the video into the circled area below |
|

|
4.) Drag the video down below into the time line area
(Hint Alt + Mouse Wheel to zoom in and out of footage). 5.) Download a funny video from YouTube and set put that clip underneath the green screen one. (I used a picture). 
|
|
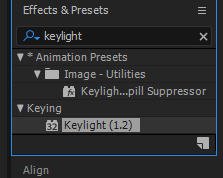
6.) Click Effects & Presets on the right
7.) Navigate to "Keylight (1.2)" Under Keying or simply type in Keylight. 8.) Drag the Keylight onto the green screen footage. |
|
|
Configuring the Green Screen
If you have done steps 1-8 correctly you should have this on your screen. We are now going to configure this so that we get rid of the Green. 1.) Select the Water Drop tool right Next to screen colour 
2.) Select a medium green from the footage
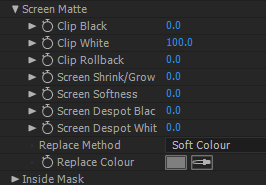
Problem - Wrinkles in the sheet
The best case scenario when filming with green screen is to have a solid screen of color. However we don't have expensive lighting and good quality green screens so we are going to have to edit this out. 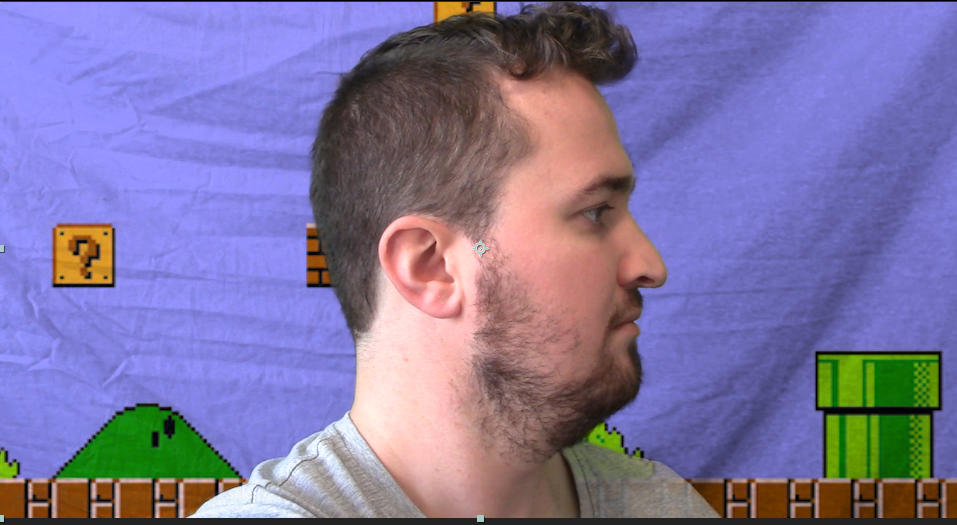
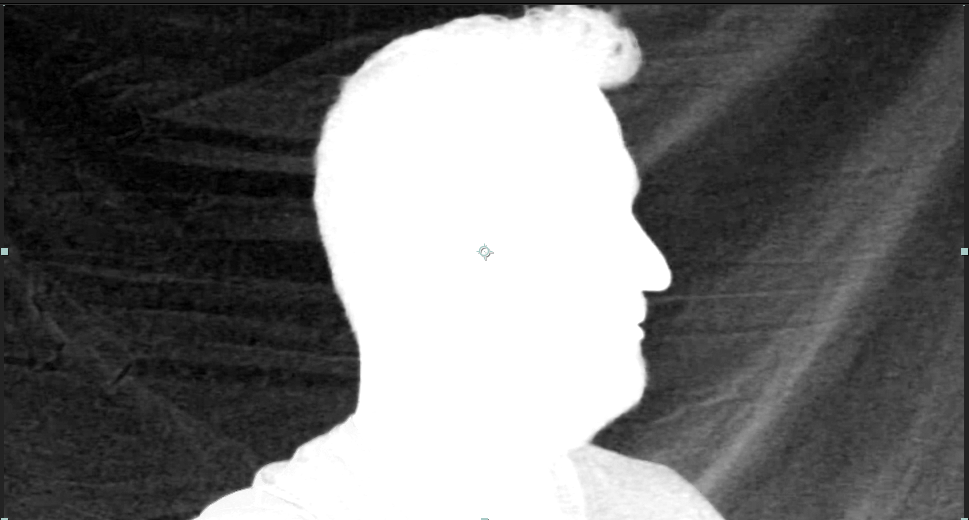
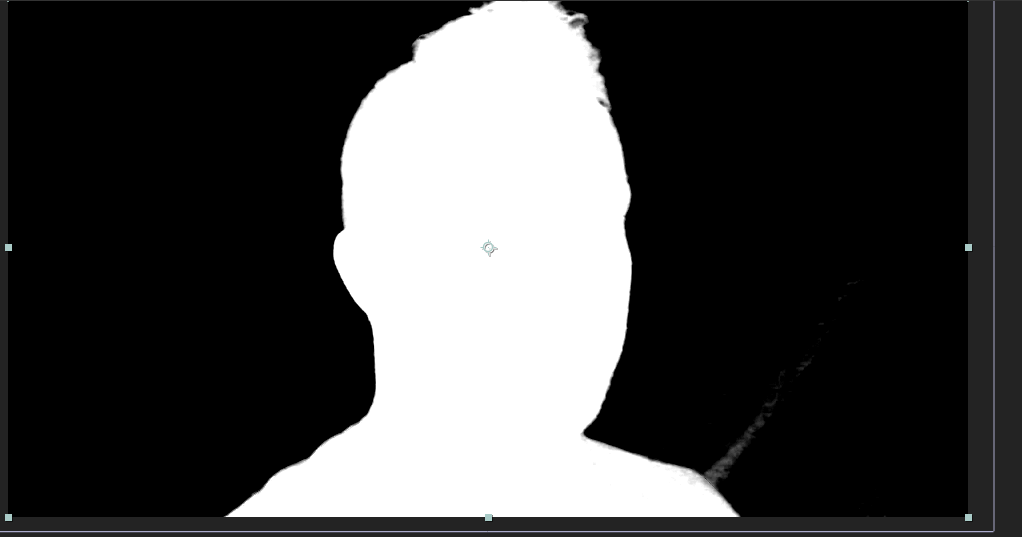
4.) Ensure that the character is entirely White and that the background is nearly entirely Black
5.) Change the View to Final Result 
6.) Hit "Space Bar" to preview your video
|

Getting rid of the wrinkles
1.) Change the view "Final Result" to "Combined Matte"
|